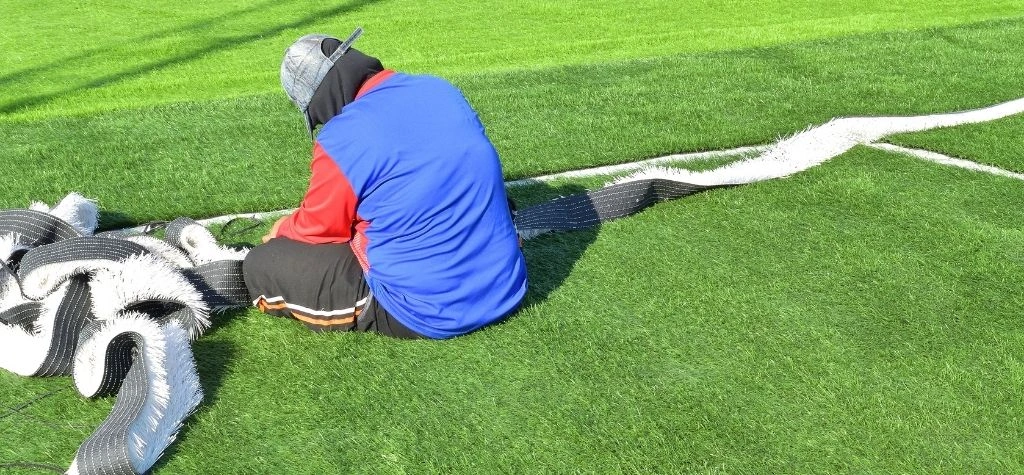
How To Repair Damaged Artificial Turf

Repairing damaged artificial turf can be done effectively if you follow the proper steps.
Here’s how to address various types of damage and restore your turf:
1. Assess the Damage
- Small Tears or Holes: For minor damage like small cuts or holes, repairs are straightforward and can often be done without replacing large sections of turf.
- Severe Damage: For larger areas or extensive damage (like burns, stains, or widespread wear), you may need to replace sections of the turf.
2. Gather Necessary Tools
- Replacement piece of turf (if needed)
- Turf adhesive or turf seam tape
- Utility knife
- Turf nails or staples
- Sand or rubber infill (optional for final step)
- Brush (for finishing touches)
3. Steps for Small Holes or Tears
a) Clean the Area
- Clear the damaged area of debris, dirt, and loose fibres. This ensures that the repair adhesive or tape will stick properly.
b) Apply Turf Glue or Seam Tape
- If it’s a small tear, open the tear slightly and apply turf adhesive or seam tape beneath the damaged section.
- Press the turf down firmly, aligning the fibres so that the repaired area blends with the surrounding turf.
c) Weigh Down the Area
- Place a heavy object over the repaired area for several hours to ensure the adhesive sets properly. Be careful not to disturb the fibres while the glue is drying.
4. Repairing Larger Holes or Damaged Patches
a) Cut Out the Damaged Area
- Using a sharp utility knife, cut out the damaged section of turf in a neat, rectangular shape. This will make it easier to fit a replacement piece.
- Ensure the edges of the cut are smooth and straight to help the new turf patch blend in seamlessly.
b) Prepare the Replacement Turf
- Cut a piece of replacement turf that matches the size and shape of the removed section.
- Align the turf’s grain and fibre direction with the existing grass to avoid noticeable mismatches.
c) Install Seam Tape or Turf Glue
- Place seam tape or apply turf glue to the base of the area you’ve cut out.
- Carefully lay the replacement turf into place, ensuring that the seams line up perfectly with the surrounding grass.
d) Secure the Edges
- Use turf nails or staples around the edges of the replacement patch to ensure it stays securely in place.
- Make sure the edges are flush with the rest of the turf.
e) Infill and Brush
- If necessary, apply a small amount of sand or rubber infill to the new patch, which helps support the fibres.
- Brush the new turf fibres to blend them with the surrounding area and make the repair less noticeable.
5. Addressing Wrinkles or Lifting Turf
If you notice your artificial grass lifting or developing wrinkles, it’s likely due to improper installation or a lack of secure anchoring.
a) Lift and Re-Secure the Turf
- Peel back the section where the wrinkle or lift occurs.
- Re-secure the area using turf nails, stakes, or adhesive. Pull the turf tight to avoid future wrinkles.
b) Brush the Area
- After securing, brush the turf fibres upright to restore their natural appearance.
6. Handling Burns or Stubborn Stains
If the turf has suffered burns or has stubborn stains:
a) Spot Clean or Replace
- For minor burns, try cleaning the area with a solution of water and mild detergent.
- If the burn is too severe, follow the steps to replace damaged patches.
b) Treat with a Turf Cleaner
- For stains, use an artificial turf cleaner or vinegar solution to clean the affected area. Brush the turf after cleaning to restore its look.
7. Prevent Future Damage
- Proper Installation: Ensure the turf is installed correctly from the beginning to avoid issues like wrinkles, uneven seams, or poor drainage.
- Regular Maintenance: To extend the life of your turf, remove debris regularly, brush the grass fibres, and keep the infill level correct.
By following these steps, you can repair your artificial turf, whether the damage is minor or significant, and maintain the longevity and aesthetics of your synthetic lawn.
